
blog.The tweak is explained with screen shots.
Step:1---Go to template>edit html.
Step:2---Scroll down the html code to find div id='header-wrapper'.

Step:3---Now
a.change the value of max widgets to "2"
b.change show add element to "yes"
c.change locked='true' to locked='false'

Step:4---Click on page elements and click on the 'edit' button on the header box.
Then click on 'remove page element'.

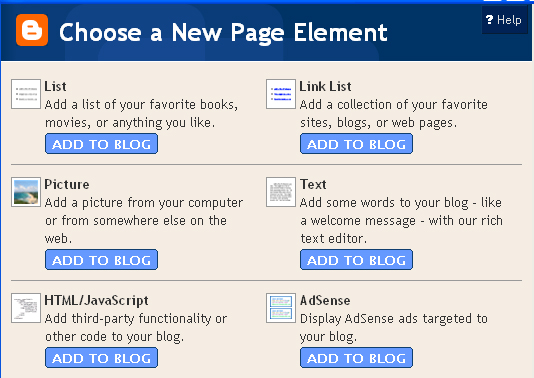
Step:5---Click on 'add page element'.Then click on 'add to blog' beneath the picture box.
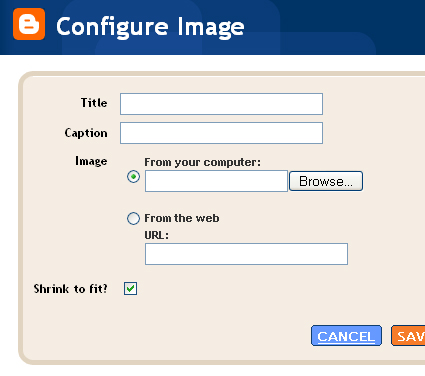
Step:6---Upload the image.
Bravo you're done.
Tips&tricks
--------------
1.If you want your users to reach your home page as they click the banner.Then
slightly modify step5.First upload the banner image to a photosharing site like
flickr or photobucket and get the image link.Click on 'add to blog' beneath the 'Html/javascript' box.Then add the code as follows.

2.Make sure you have measured the dimensions of the banner according to the
template you use before starting to prepare the banner.
3.If you followed tip1 then it is reccomended to check whether the link is working
or not.
4.In step3 we put no. of widgets as 3.You can change it if you want to display
more html/javascript items near the banner.
No comments:
Post a Comment
Thanks for posting a comment.Your opinion is valuable.
Blogger Whale